NETGEAR EX6400 SETUP | Netgear Nighthawk AC1900 Setup
The Netgear Ex6400 wifi range extender, dead zones at your home or place of business will no longer exist. Every wireless router brand is compatible with the Netgear AC1900 EX6400 range extender. With the default Extender URL of mywifiext.net, you can manually connect to and install a Netgear Nighthawk AC1900 repeater. You can also use the IP address 192.168.1.250 to access the New Extender Setup page. Get in touch with our IT specialist without losing any of your valuable time if you run into any issues while following the Netgear EX6400 Extender Setup guide.
Netgear Ex6400 Extender Setup via manual method
Steps are below For Netgear Nighthawk AC1900 Extender Setup| EX6400 via manual method:
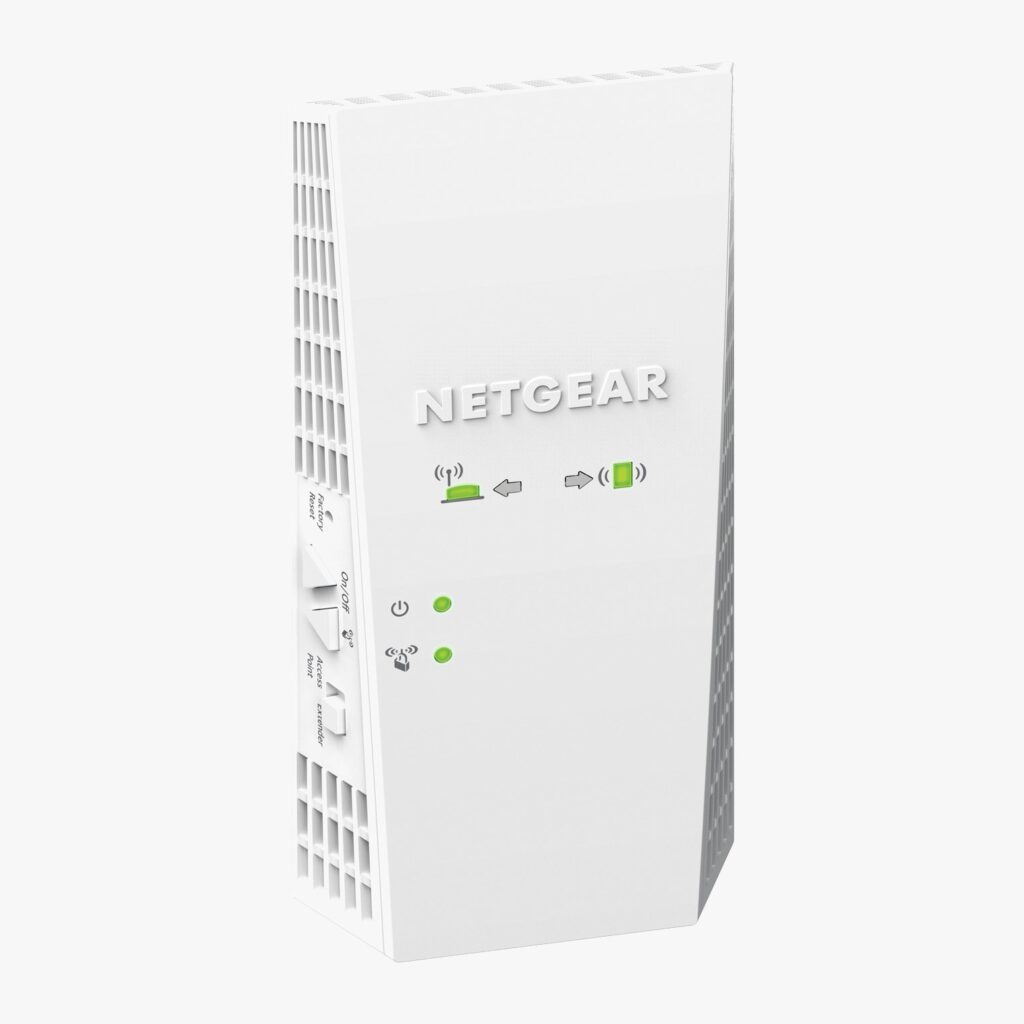
- Connect the Netgear Ex6400 Extender setup Ac1900 Extender to a power source.
- Confirm that the LED power light is turned on.
- Connect to Netgear EXT using any wifi-capable device.
- Now open any Web browser, and in the address box, type www.mywifiext.net setup.
- It will direct you to the Netgear Genie Setup process, which aids in the setup of the Ex6400 AC1900 extender.
- Now all you have to do to establish your Netgear Ex6400 Extender setup wifi range extender is to follow the on-screen directions.
- All of the LED lights on your wifi repeater will be solid green once it has successfully connected, with the exception of (device light)
- Use the same login information you use for your regular WiFi when connecting any smart device to the Netgear Range Extender.
Netgear Nighthawk AC1900 Setup (EX6400) Using WPS Method:
If you’re installing a Netgear AC1900 EX6400 Extender for the first time using WPS (Wireless Protected Setup), take the following actions:
- The power supply needs to be connected to the Netgear AC1900 wifi extender.
- Hold off until the power LED light becomes completely green.
- While the Nighthawk AC1900 WiFi Extender needs to be closer to the Router for WPS Setup.
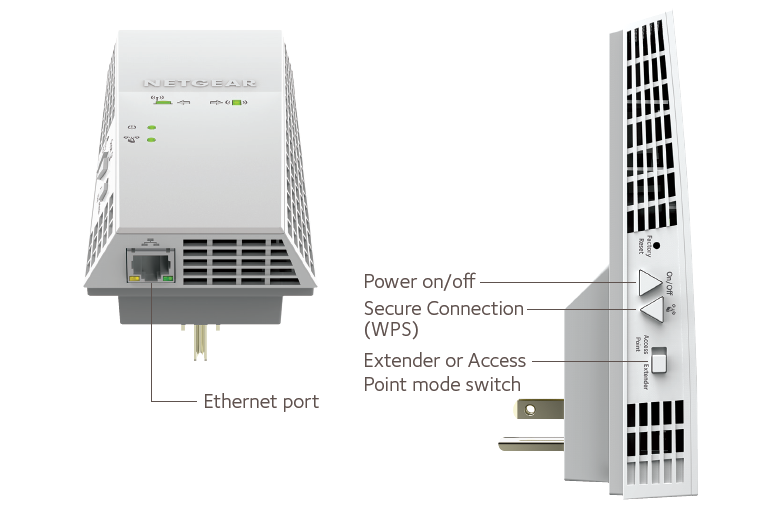
- On the Netgear Ex6400 Extender Setup, push the WPS button first, then on the router itself.
- It will establish a connection between your home Wi-Fi and the Extender.
The Router Link Led on the Netgear Ex6400 Ac1900 wifi range extender will be steady if it is linked properly. That is how you can successfully connect to your current internet utilizing the WPS method. When that happens, you can unplug it, put it where your wifi signal is weak, and stream unrestricted internet with excellent performance.
Note: If you need any assistance regarding your Netgear wifi extender, get in touch with us via the chat button you see on the bottom right corner of this page.
Firmware Update for the Netgear Nighthawk EX6400 AC1900 Extender
Steps To Update Firmware Of Nighthawk AC1900 EX6400 :
- Connect the Netgear EX6400 Extender Setup to an electrical outlet.
- If the LED lights are not on, press the power button.
- Connect the Netgear AC1900 Extender to any smartphone or computer.
- Open a browser now, and in the address box put 192.168.1.250.
- Your previously created username and password will be required.
- Confirm that the LED power light is turned on.
- Then select “Firmware Update” from the menu.
- There will be a Check Online option. Touch that.
- Click on that if a new firmware update is available.
- Go back only when the update process is finished to avoid having your Netgear Ex6400 extender crash
How to reset Netgear EX6400 Extender ?
Have you forgotten or misplaced your administrator password? Are you looking for the reset for the Netgear Nighthawk EX6400? If so, you’ve come to the correct place.
The steps needed for carrying out a factory reset are as follows:
- Take a pen and a paperclip.
- Discover the Netgear EX6400 reset button.
- Your AC1900 may have it at the bottom or in the back.
- Hold the reset button down for 8 to 10 seconds while pressing it with a pen or paper clip.
- The repeater will now restart once.
- After a reboot, your extender will return to its original factory settings.
Note: Call us at our toll-free lines or contact us via live chat if you are unable to complete the factory reset process. Our technical staff will assist you in solving your issue.