Netgear EAX11 Setup: The Ultimate Solution for Fast and Secure Internet Connectivity
Say goodbye to slow internet and hello to a superior connection. The Netgear EAX11 Setup is the ultimate solution for fast and secure internet connectivity. Experience the thrill of lightning-fast speeds and the security of a robust network. Don’t miss out on this opportunity to empower your online experiences.
A different term for the manual method is web browser setup. To learn how to manually set up a Netgear wifi extender, go to the steps provided below:
First, plug the Netgear extender into a power outlet to turn it on.
Link your Netgear extender to your router.
To access the Netgear_EXT SSID, click the network manager.
Start any web browser.
Default to the mywifiext login page.
Make an account on that page if you don’t have one.
Select “Next” and then “Finish” from the menu.
How to Do EAX11 Setup via WPS Method?
Using the WPS method is the most basic approach for setting up the EAX11 range extender. WiFi Protected Setup is reduced to WPS.It matters that your home router has a WPS button on it in order to use this method. In view of this, follow the directions in this section to install your networking device the easy way.Having access to Netgear_ext is important whatever of the setup technique you use. This means confirming that you know how to go to it.
Find a wall socket which is close to the router.
Locate it and insert the extender into it.
Press the power button.
The LED on EAX11 can flash in the time of a single eyeblink.
On the extender, locate the WPS button.
Once located, give it a push.
The exact same procedure needs to be done again, but with the router.
In due course, both devices will establish a connection.
Once that is done, move your Netgear EAX11 device.
You will be able to complete the Netgear EAX11 setup procedure quickly. If you are experiencing difficulty performing this approach, you can use any manual method that requires the user to have access to the mywifiext web address. You need to read the manual for that, as it contains the instructions for carrying out each setup procedure.
Note: If you need any assistance regarding your Netgear wifi extender, get in touch with us via the chat button you see on the bottom right corner of this page.
Firmware update for Netgear EAX11 Extender
Make sure your computer or device is connected to the Netgear EAX11 extender.
Open a web browser and enter the extender’s IP address 192.168.1.250 in the address bar.
Log in to the extender’s web interface using default credentials (refer to the user manual if needed).
Find the “Firmware Update” or a similar option in the extender’s settings.
Look for an option to check for firmware updates within the firmware section.
Visit Netgear’s official support website and download the latest firmware for your EAX11 model.
In the extender’s web interface, upload the downloaded firmware file.
Allow the firmware update to complete. If not prompted, manually reboot the extender to apply the changes.
Want to Reset Netgear EAX11 Extender
There are times when people try to upgrade the firmware on their wireless range extenders using 192.168.1.250, the default IP address, but find difficulties during the procedure. If any of these describe you, you should reset your networking device.
If you follow these detailed instructions, you can take the right action:
Make sure the wall socket is correctly plugged in to the device.
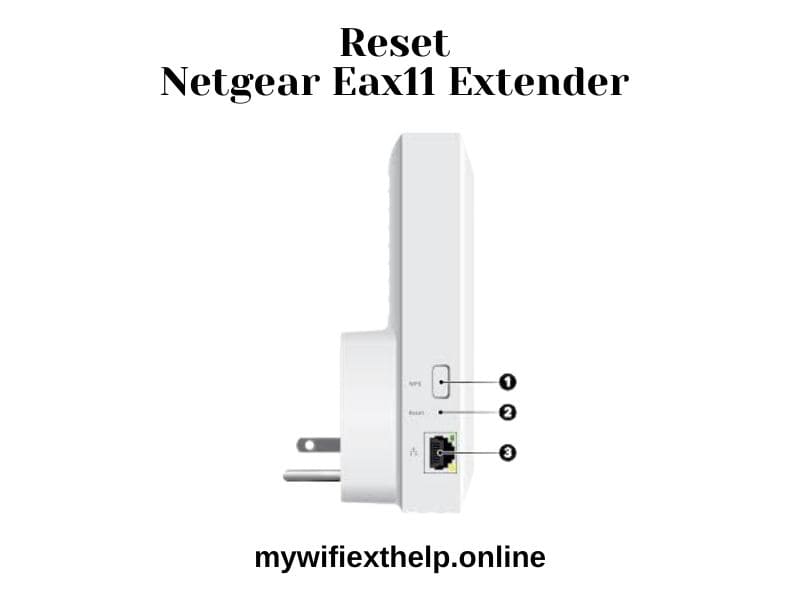
After you’re sure, find the Netgear EAX11 range extender’s Reset button.
As soon as you locate the button, press it.
The model you are using sets up where the reset button is located.
Hold on for a while.
Your networking device will restart on its own.
While there is no risk of problems while restoring your extender to factory defaults by the hard reset approach, in the unlikely circumstance that they arise, you are still able to perform the same task manually. You must access mywifiext.net for that, as well as if you’re using Windows.