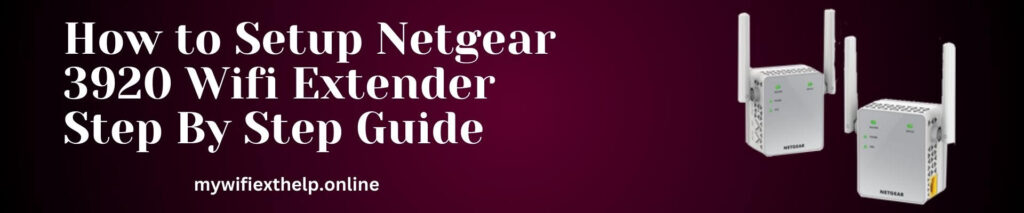
The Netgear EX3920 extender setup is a little, easy-to-use device that can easily increase the range of your current Wi-Fi network. This extender leaves no dead zones and offers a robust, dependable connection across your house or place of business with an easy setup procedure. FastLane technology increases internet speed for a seamless online experience, and its beautiful appearance makes it simple to integrate into any setting. For individuals who want to increase Wi-Fi coverage without having to deal with complicated advanced configurations, the EX3920 is the perfect option.
The Netgear EX3920 extender manually is an easy procedure. Here are simple steps to follow:
Turn on your extender so as to start the Netgear AC750 EX3920 Setup.
Install an extender in the area where your WiFi router is located.
The Power LED will first glow amber before becoming green.
Press the WPS button located on the extender’s side panel to set up a connection using WPS.
There is a blinking WPS LED.
Go to www.mywifiext.net setup in the browser’s address bar and follow the on-screen directions to set up the extender.
Note: If you need any assistance regarding your Netgear wifi extender, get in touch with us via the chat button you see on the bottom right corner of this page.
Netgear EX3920 Wifi Extender Wps Setup
For WPS setup of the Netgear EX3920 extender:
Turn on the extender Netgear AC750 EX3920.
The WiFi router and extender should be placed in the same room.
After that, insert your extender into a power outlet.
Wait for the EX3920’s Power LED turning green.
WPS button on the extender should be pressed.
Your router and extender are in good communication if the Netgear EX3920 Link Status LED is lit white.
How do i login Netgear Ex3920 extender?
The Netgear EX3920 wifi range extender login is a simple process. Here are seven easy steps to log in:
Connect to Extender: Ensure your device is connected to the Wi-Fi network broadcasted by your Netgear EX3920 extender. The default SSID is often “NETGEAR_EXT.”
Open Web Browser: Launch your preferred web browser on the connected device.
Enter IP Address: In the address bar, type the default IP address for Netgear extenders, which is usually “192.168.1.250,” and press Enter.
Login Page: You will be directed to the Netgear extender login page. Here, enter the default username and password. Typically, both are set to “admin” (without quotes).
Click Login: After entering the credentials, click on the “Login” button.
Navigate Settings: You will now have access to the extender’s settings page. From here, you can modify and customise various configurations.
Logout: Once you’ve made the necessary changes, it’s a good practice to log out for security reasons. Look for the logout or sign-out option on the settings page and click it.
Firmware update for Netgear Ex3920 AC750 extender
The Netgear EX3920 AC750 wifi range extender firmware update is a simple process. Here are easy steps:
First of all, make sure your Netgear AC750 EX3920 WiFi extender has been turned on.
Link the extender to a router.
After that, open the web browser of your choice.
In the address bar, type mywifiext.net login and press the enter key.
Enter your password and login to access your extender.
Click the Firmware Upgrade option in the settings menu.
Click the Check button after that.
To upgrade the firmware, click the “yes” option if a new version is available.
Now let the Netgear EX3920 firmware some time to properly update.
The firmware on your extender has been updated. Please feel free to get in touch with the professionals if you need assistance.
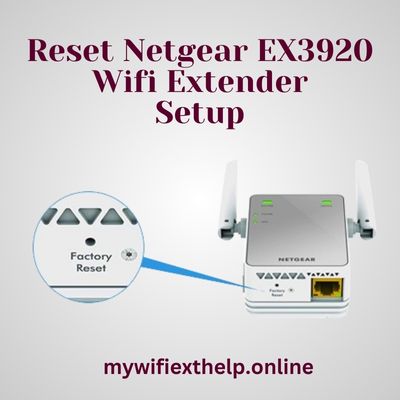
How do i reset Netgear Nighthawk Wifi Extender
Locate the Reset Button: Find the reset button on your Netgear Nighthawk extender. It is usually a small button that may require a paperclip or a similar tool to press.
Power On: Ensure the extender is powered on and connected to a power source.
Press and Hold: Use a paperclip or a similar tool to press and hold the reset button. Hold it down for about 10-15 seconds.
Release Button: After holding the reset button for the specified time, release it. The extender will reboot, and the settings will be reset to factory defaults.
Reconfigure: Once the extender has rebooted, you’ll need to reconfigure it by following the setup instructions provided by Netgear. This often involves connecting to the extender’s Wi-Fi network and accessing the setup page to configure settings.
Keep in mind that resetting the extender will erase any custom settings you have made, so you may want to note down your configuration details before performing the reset.