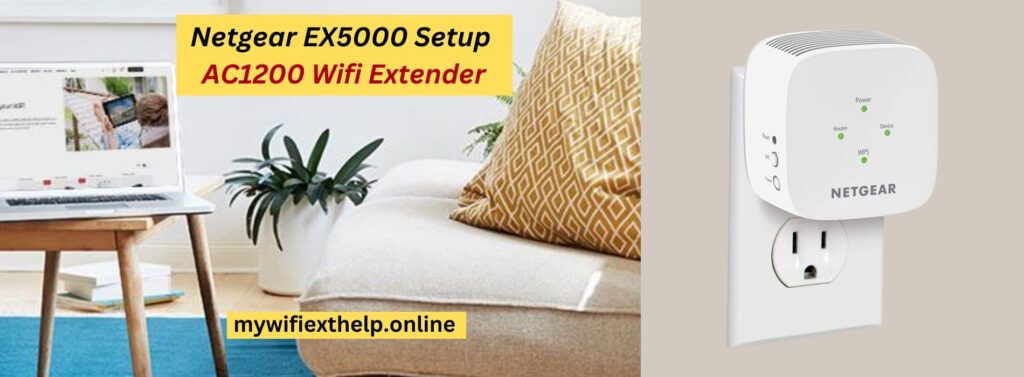
The Netgear EX5000 setup is a reliable and efficient device designed to enhance the wireless network coverage in your home or office. With its dual-band capability, it can provide both 2.4GHz and 5GHz extended WiFi signals, ensuring a stable and high-speed internet connection in even the farthest corners of your space. The setup process is user-friendly, and it supports WPS for quick and secure connection to your existing router. Equipped with external antennas, the Netgear EX5000 wifi extender offers improved range and performance, making it ideal for streaming, online gaming, and multiple device connections.
The Netgear EX5000 AC1200 WiFi Range Extender Setup may be connected in easy steps, as follows:
Once your current WiFi router is within range of the power socket, plug in your Netgear EX5000 extender.
Await the extender’s Power LED turning solid green.
Connect to the default WiFi network of the extender using a computer or mobile device .
Put “mywifiext.net login” or 192.168.1.250 into the address bar of an open web browser.
To connect the extender to your current WiFi network and setup a new WiFi network name and password, follow the on-screen setup instructions.
For better coverage, connect your devices to the newly extended WiFi network when the setup is finished.
You should be able to quickly and simply set up your Netgear EX5000 AC1200 WiFi extender by following these steps.
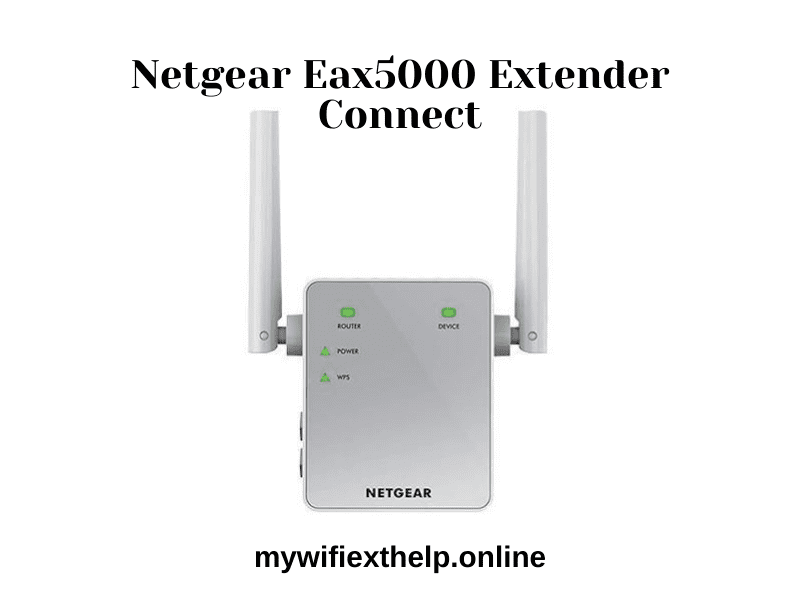
Netgear Ex5000 WiFi Range Extender Setup : Manual setup
The Netgear EX5000 WiFi Extender setup using manual method the following simple steps:
After plugging the extender in, watch for it to turn on.
Connect to the default WiFi network of the extender using a computer or mobile device.
Put “http://mywifiext” into the URL bar of an open web browser.
Use the default username and password to log in, which are often “admin” for both.
To choose and enter the password for your current WiFi network, follow the on-screen prompts.
After completing the setup, link your devices to the newly created extended WiFi network.
You may manually modify your Netgear EX5000 WiFi Range Extender for better your WiFi coverage by following these steps.
Note: If you need any assistance regarding your Netgear wifi extender, get in touch with us via the chat button you see on the bottom right corner of this page.
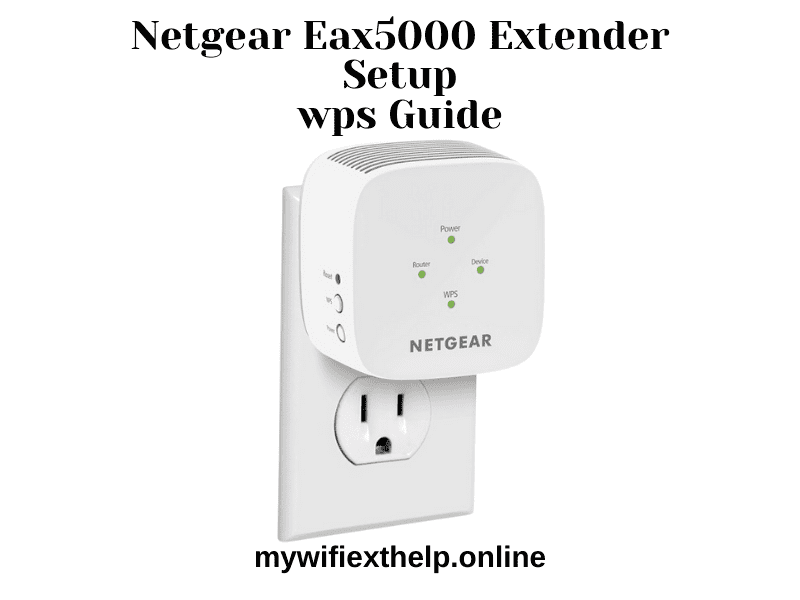
Netgear Ex5000 wps Setup
To Netgear EX5000 extender setup using the WPS method, follow these steps:
Plug in the extender and position it within range of your existing WiFi router.
Press the WPS button on the extender. The WPS LED on the extender should start blinking.
Within two minutes, press the WPS button on your WiFi router.
The WPS LED on the extender will turn solid green if the connection is successful. This indicates that the extender is now connected to your router.
If the connection is successful, you can relocate the extender to a location where it can effectively extend your WiFi network.
Your devices should automatically connect to the extended WiFi network, and you’re now set up with the Netgear EX5000 using WPS.
Netgear EX5000 extender Firmware update
To update the firmware on your Netgear EX5000 WiFi extender, follow these steps:
Connect your computer or mobile device to the extender’s WiFi network.
Open a web browser and enter the following web address: mywifiext login or 192.168.1.250.
You will be prompted to log in. Enter your username and password. If you haven’t changed these, the default credentials are usually “admin” for both. Click “Log In.”
In the extender’s web interface, navigate to the “Settings” or “Maintenance” section.
Look for an option like “Firmware Update,” “Check for Updates,” or “Software Update.” Click on it.
The extender will check for the latest firmware. If a new firmware version is available, follow the on-screen instructions to download and install it. Be patient as this process may take a few minutes. Do not interrupt the update.
Once the update is complete, the extender will reboot. You may need to reconnect to its WiFi network.
Your Netgear EX5000 extender is now running the latest firmware. Firmware updates can improve performance, security, and fix any known issues, so it’s a good practice to keep your extender’s firmware up to date.
How do I reset the Netgear EX5000 extender?
Here are five simplified steps to reset the Netgear EX5000 WiFi extender:
Locate the Reset button on the extender, typically a small pinhole button.
Using a paperclip or similar tool, press and hold the Reset button for about 5-10 seconds.
Release the Reset button when the Power LED on the extender blinks, indicating the reset process has started.
Wait for the extender to complete the reset, which may take a few minutes.
Once the extender reboots and the reset is finished, it will be restored to its factory default settings, and you can proceed with the setup process from scratch.